
Happy Monday, friends! Well, we made it through last week, and while I’m not at liberty to share details of what was going on last week and why I was away from the blog (because it’s not my story to tell), let me just say that last week was one of the most emotionally and mentally exhausting weeks I’ve ever gone through. Maybe one day I’ll be able to share details. I hope so, because I think it’s a story that needs to be told far and wide as a cautionary tale.
But at the end of last week, I had no mental or physical energy to do any house projects. I was completely worthless on Friday, and only a little bit better on Saturday. But yesterday, I was finally feeling like I wanted to do something, but it needed to be fun and it needed to be indoors because it had been raining and I didn’t want to work in the mud. So I decided to turn my attention to our entryway wall.
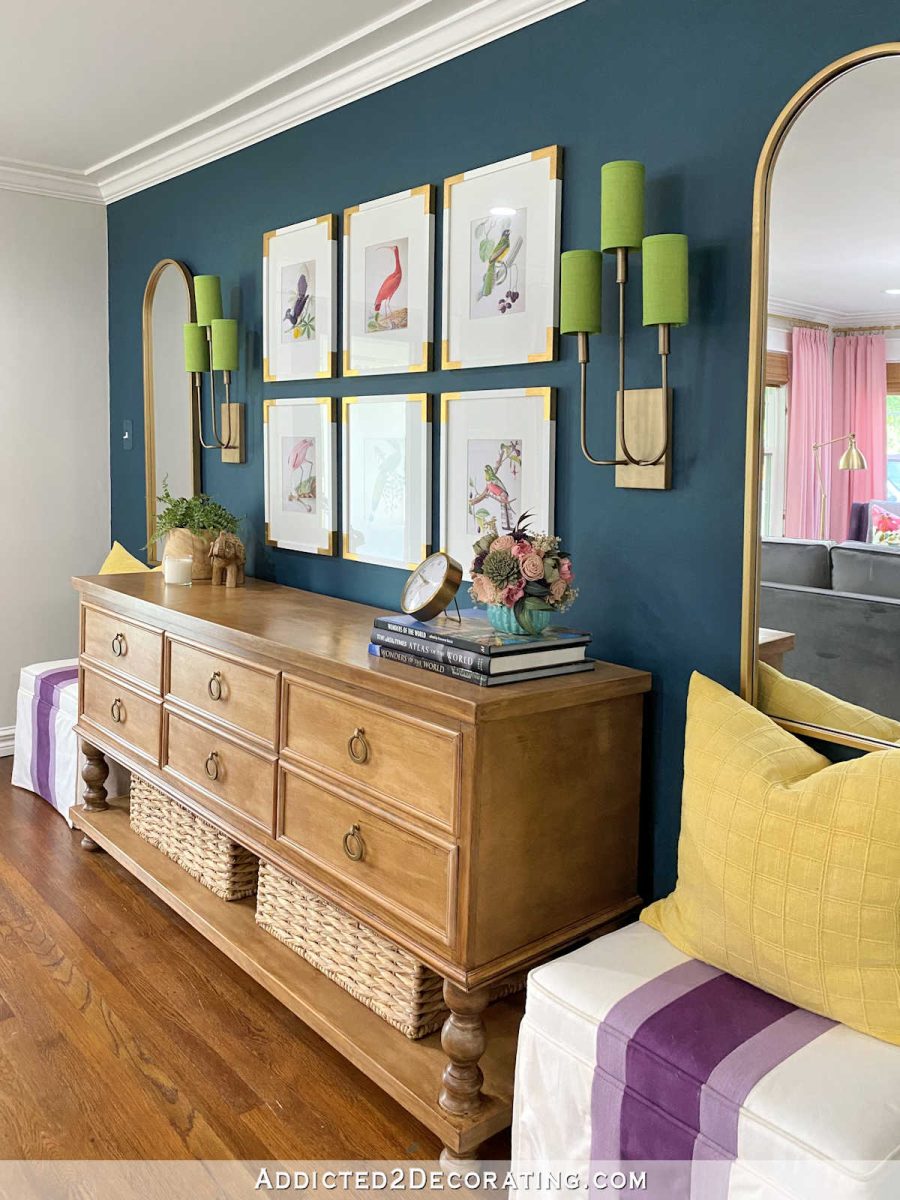
I have really loved this iteration of our entryway wall, but I was ready for a change.
A while back, I purchased this wallpaper mural from Anthropologie during a sale, and I’ve been holding onto it until I decided where to put it. The mural is really large — 20′ wide and 12′ tall. And after all of my other options fell through over the last year or so, I finally decided to use it on the entryway wall.

The biggest challenge was deciding which part to use. That particular wall is only 153 inches wide and the area between the crown molding and baseboards is just under 90 inches high. So I knew I would lose quite a bit of the design by using it on that wall.
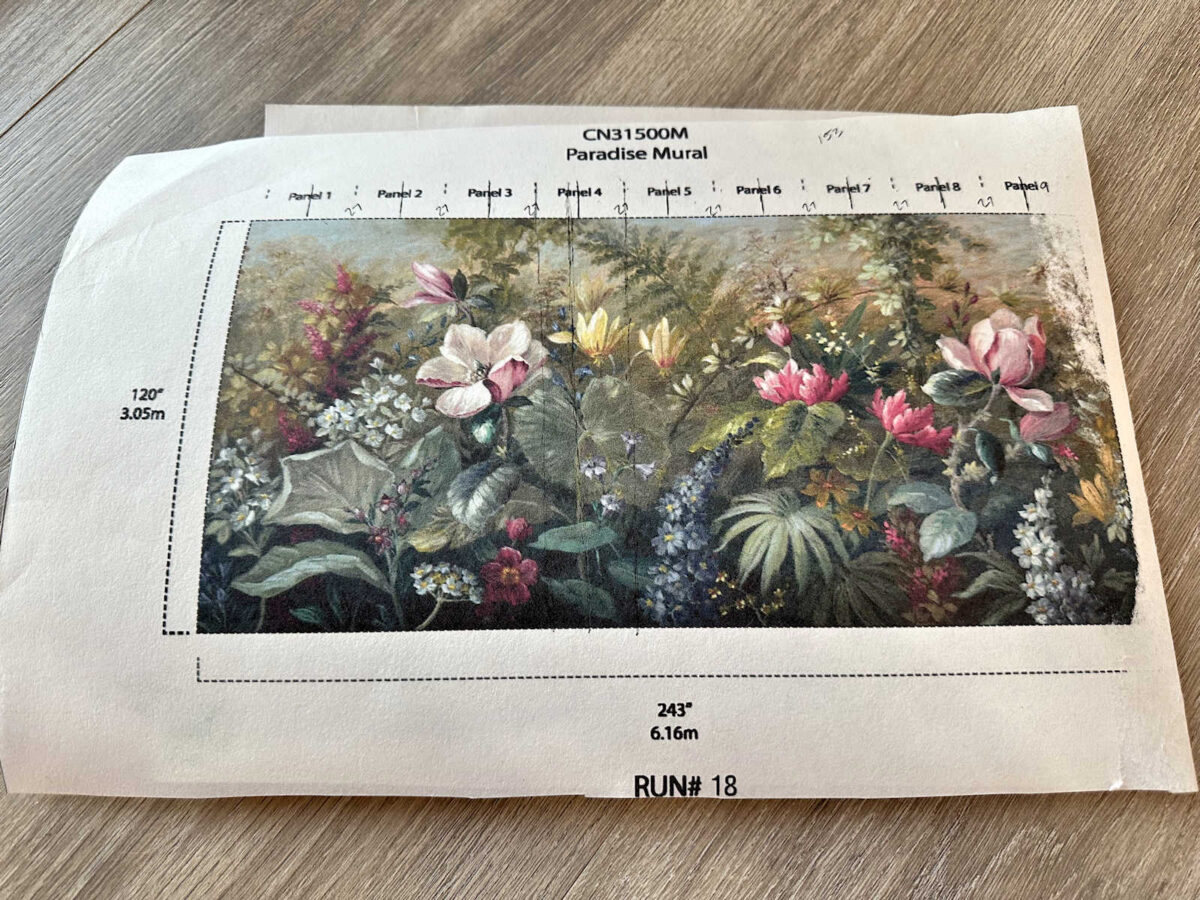
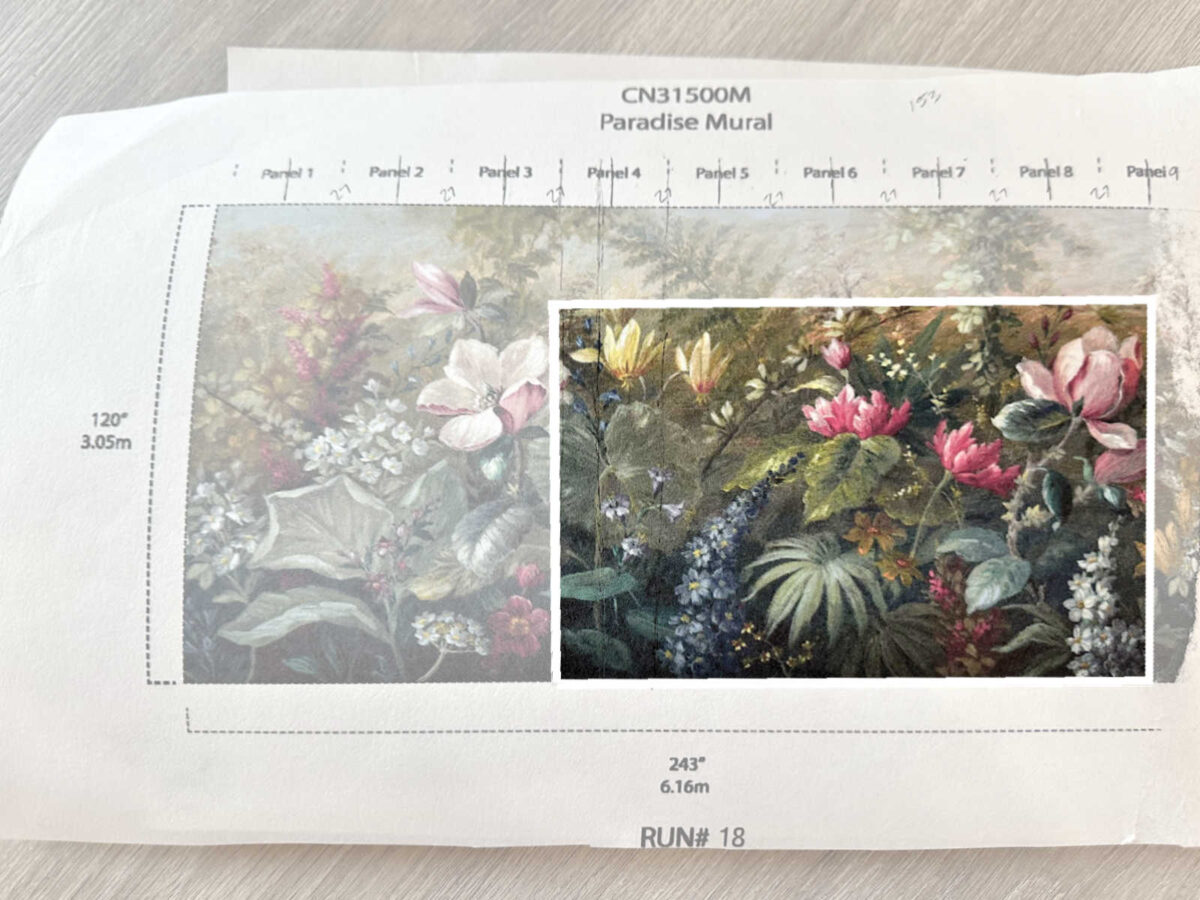
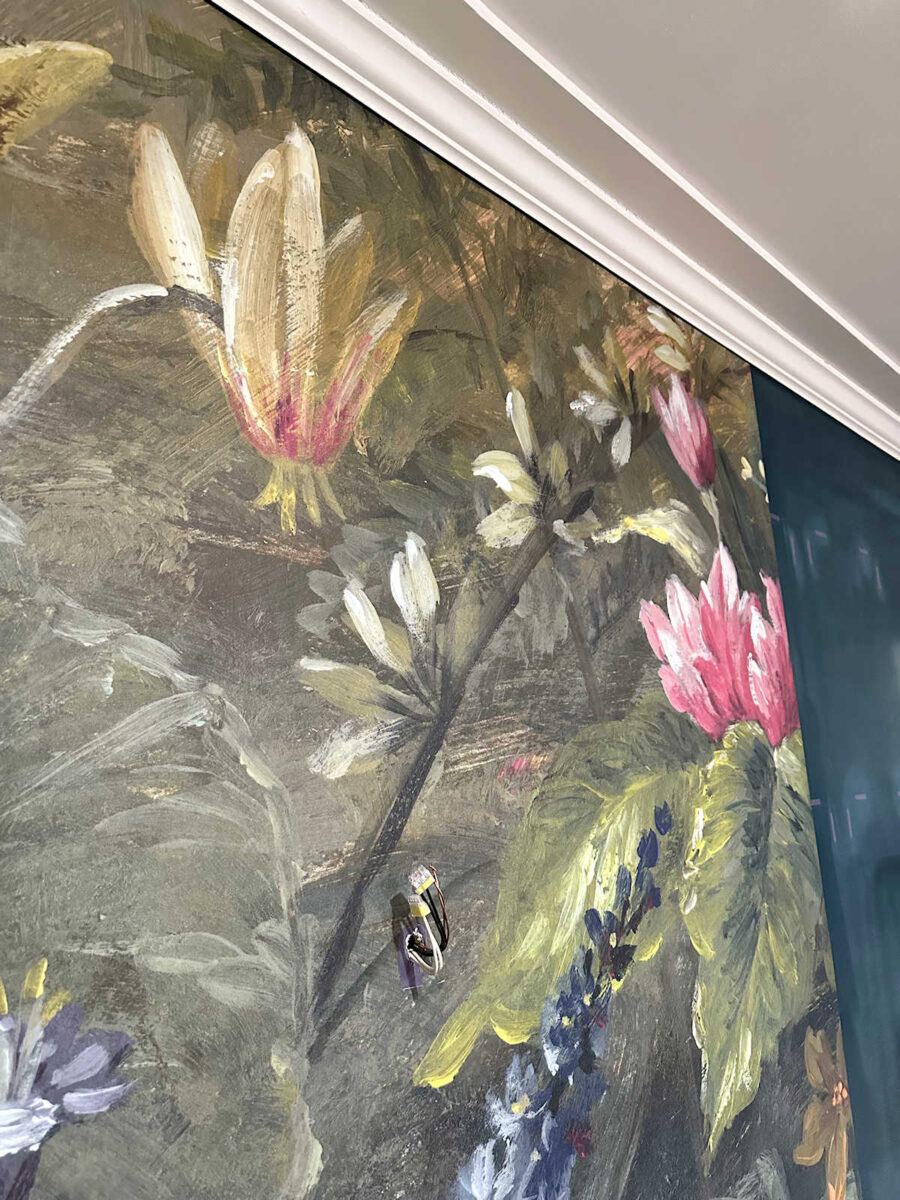
I finally decided to use this section starting at Panel 4 since that’s where most of the brightest color is. And I also decided to use the lower section so that the flowers would be as high on the wall as possible.
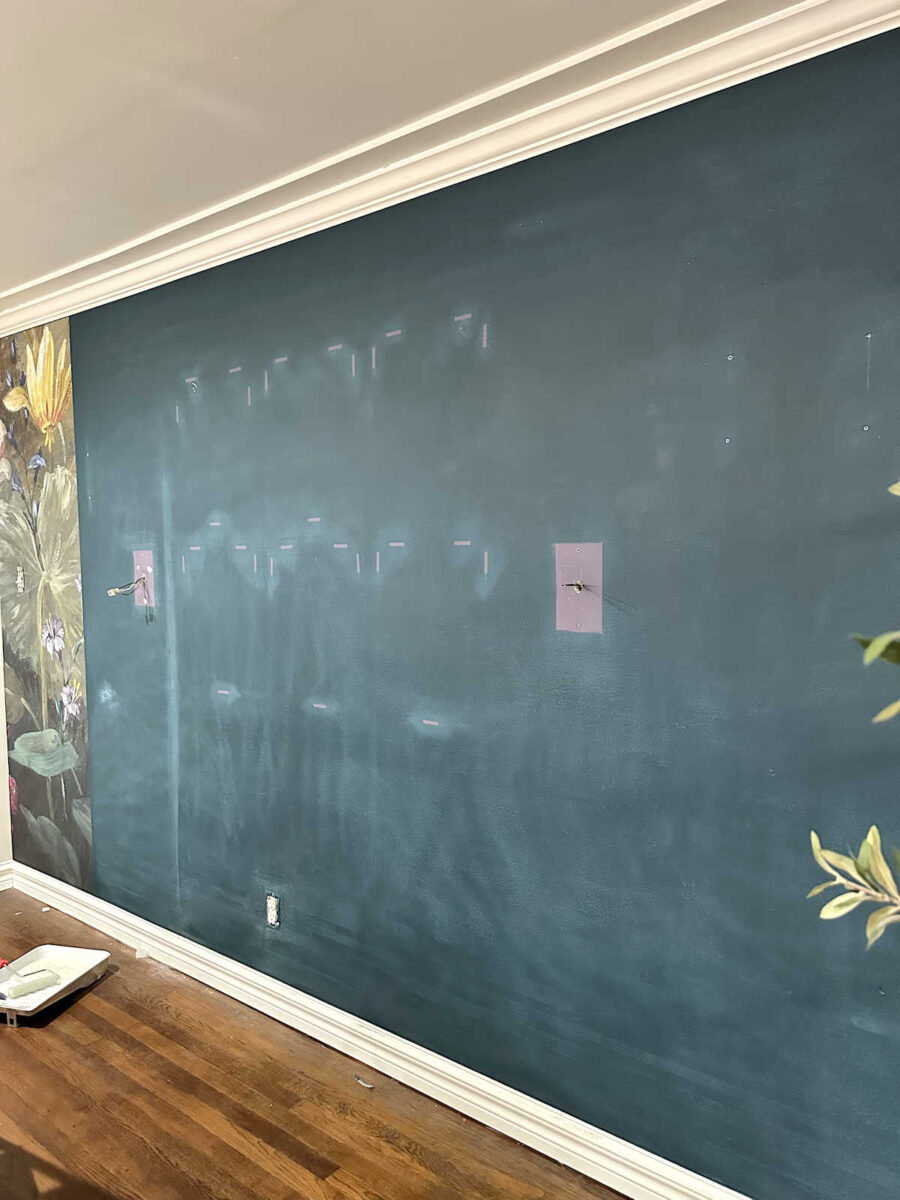
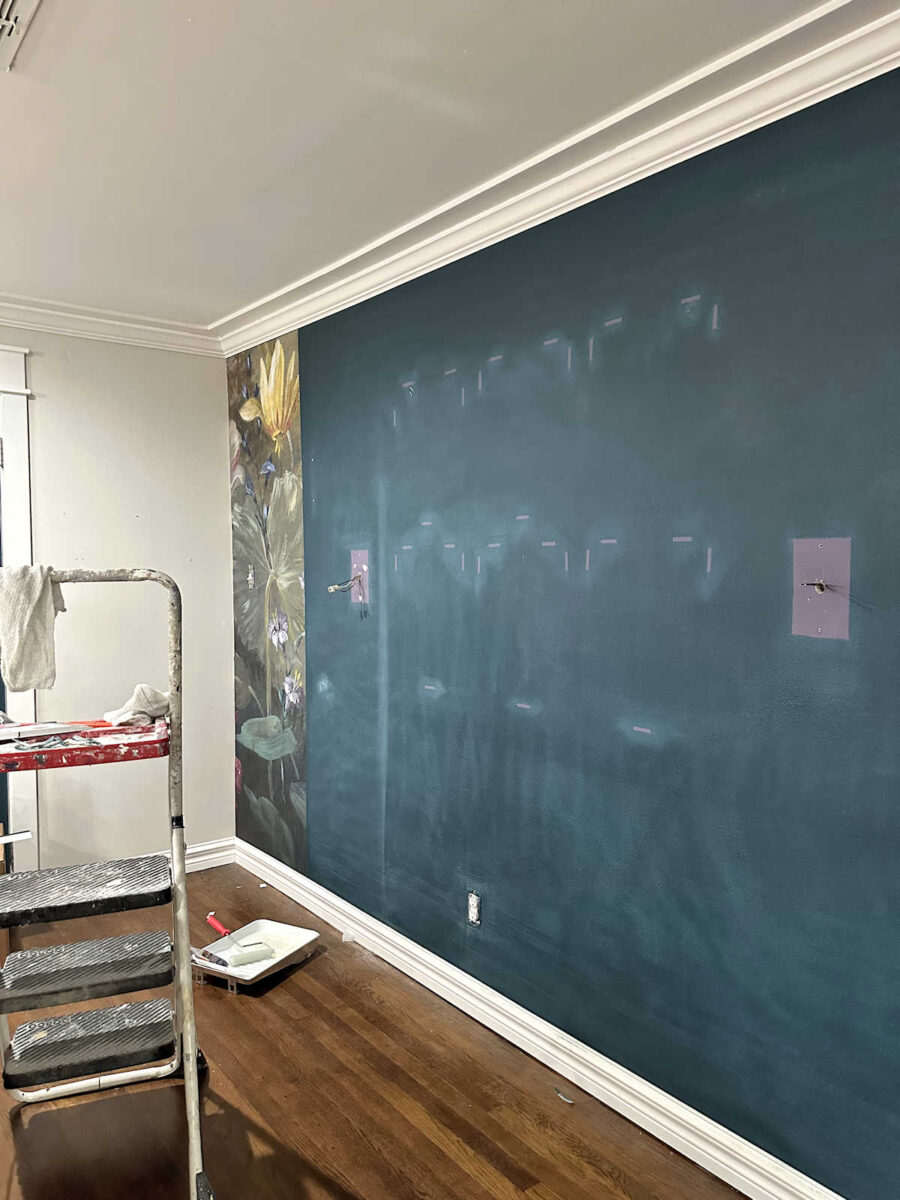
I forgot to take a picture before I put the first panel on the wall, but the wall required quite a bit of prep work before I could start. After removing the mirrors, the pictures, and the sconces, I had to sand the whole wall to make sure that the areas where I had painted around the mounting plates for the sconces, the picture mounting strips, and the screw holes were smooth.
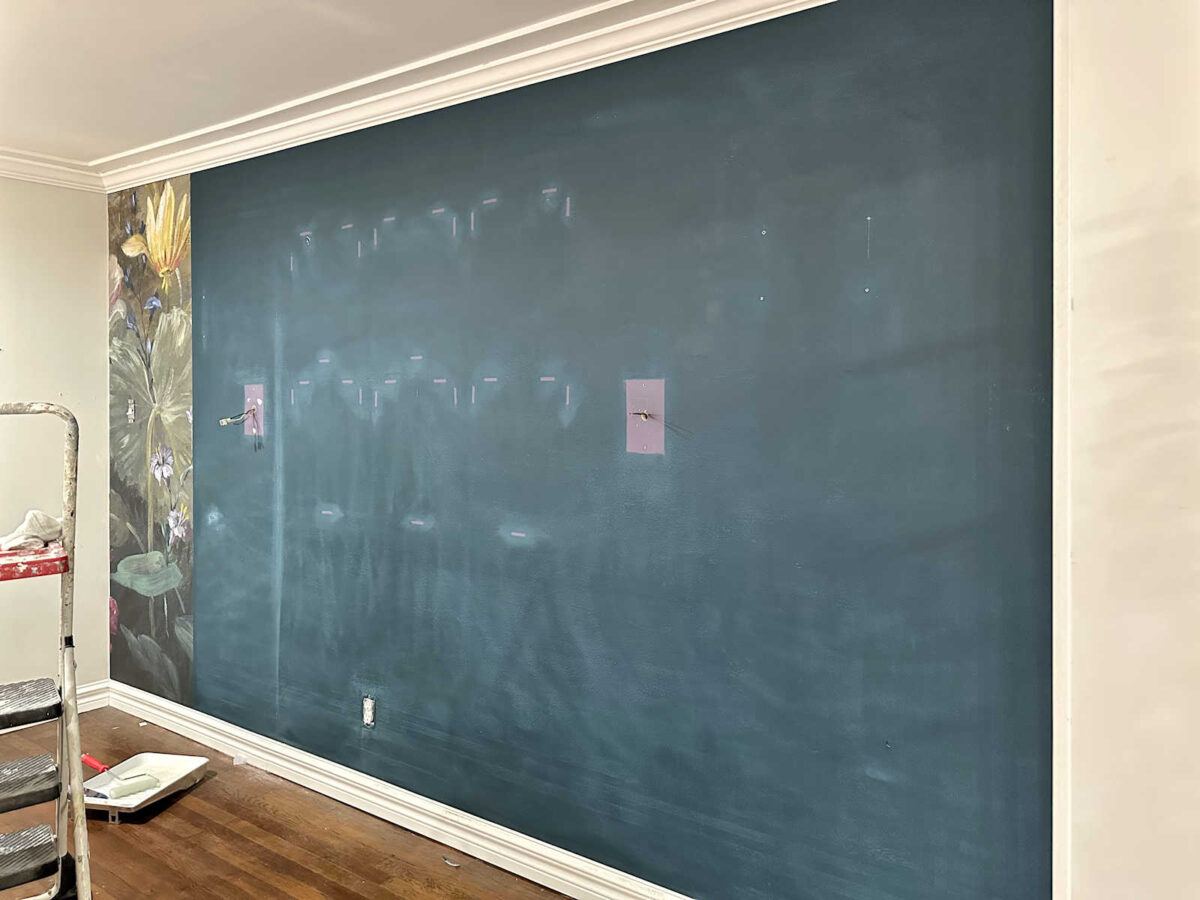
I also had some paint drips on the wall that I hadn’t even noticed before since I had painted this wall in a dark matte finish. But I wanted to get all of that smooth before installing the mural.
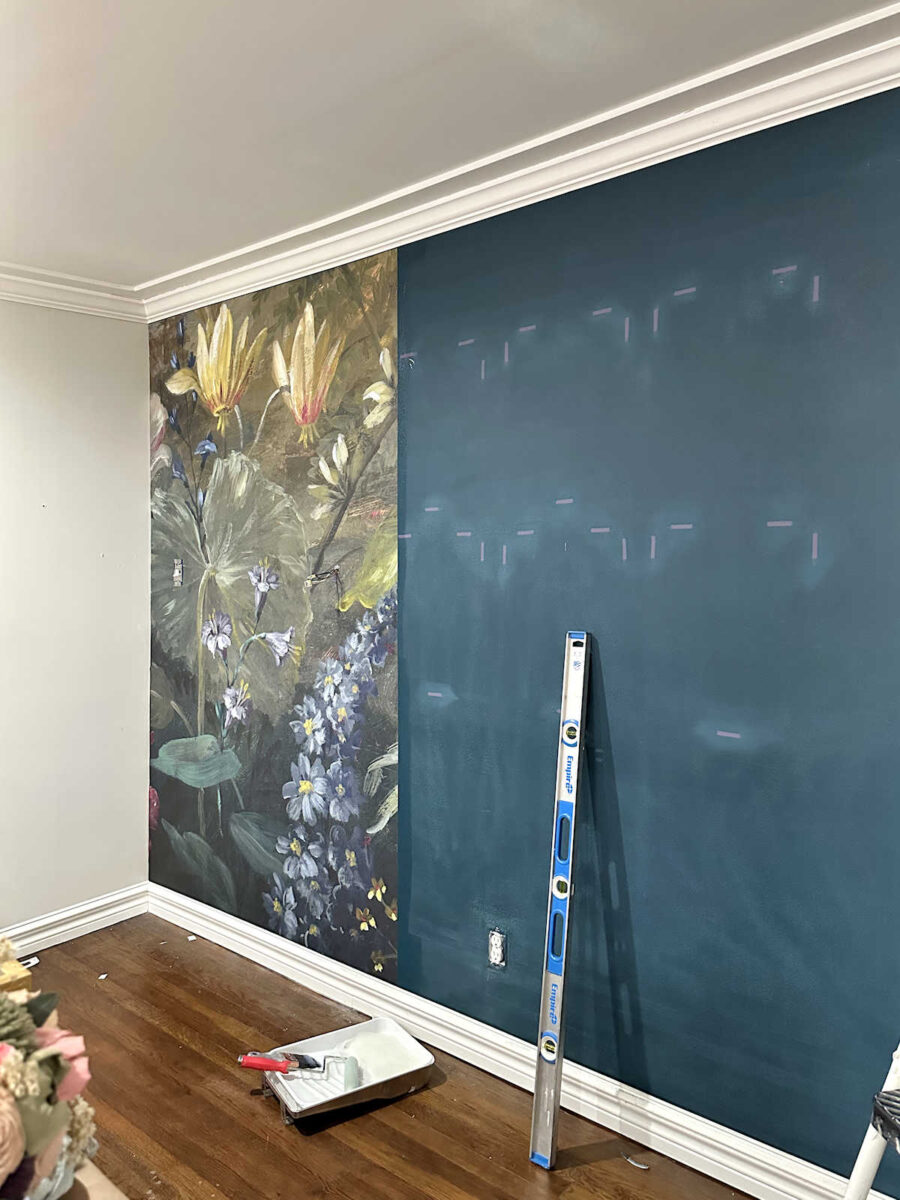
And then I started on the left side and worked my way to the right. Each panel is 27 inches wide, so for the first panel, I measured over 26 inches from the corner and then used my long bubble level to mark a vertical line. I measured 26 inches instead of 27 inches because corners are never perfectly plumb and square. So after hanging the first panel, I trimmed off that extra one inch in the corner.
This mural is so easy to install. The paper is thick and the design is pretty busy so it’s very forgiving. And the design from panel to panel matches up perfectly.
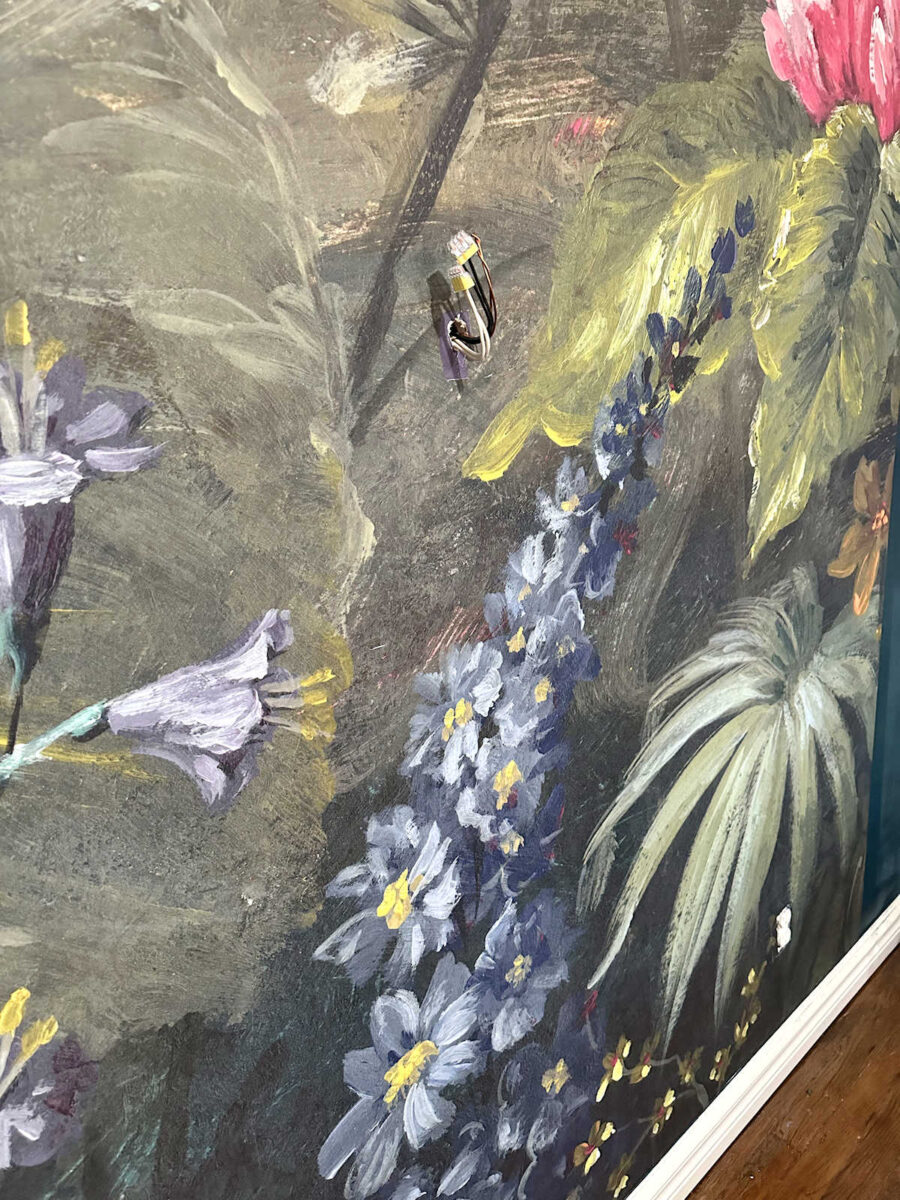
I knew I couldn’t get the whole thing done yesterday since I got a bit of a late start, but I was determined to keep going until I got a piece that had some pink on it.
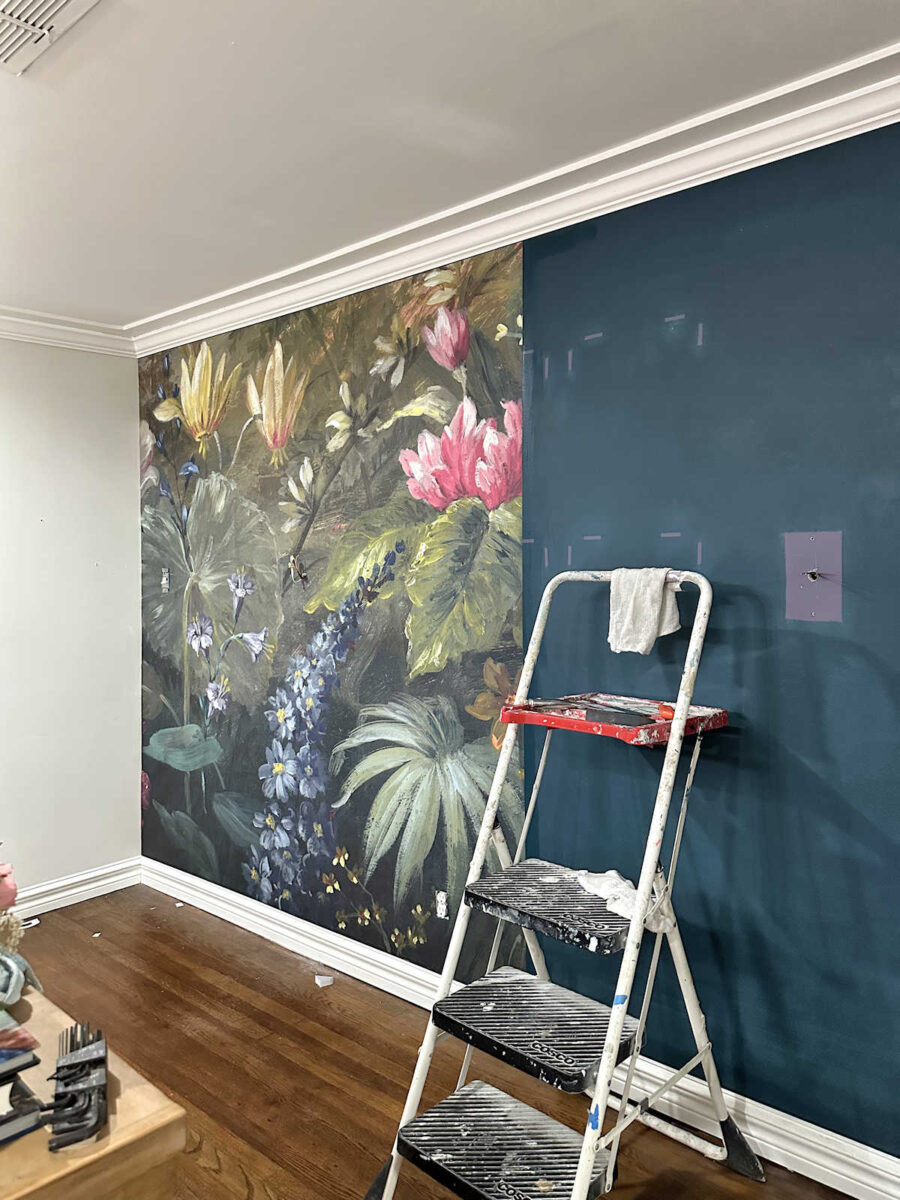
So I got the first three panels hung last night before I went to bed, and I have three more to do today. But I am absolutely loving how this looks so far!

This design is so gorgeous! And while it’s not the watercolor look that I love so much, it’s a pretty close runner up with the hand painted look. It looks like a huge acrylic painting.
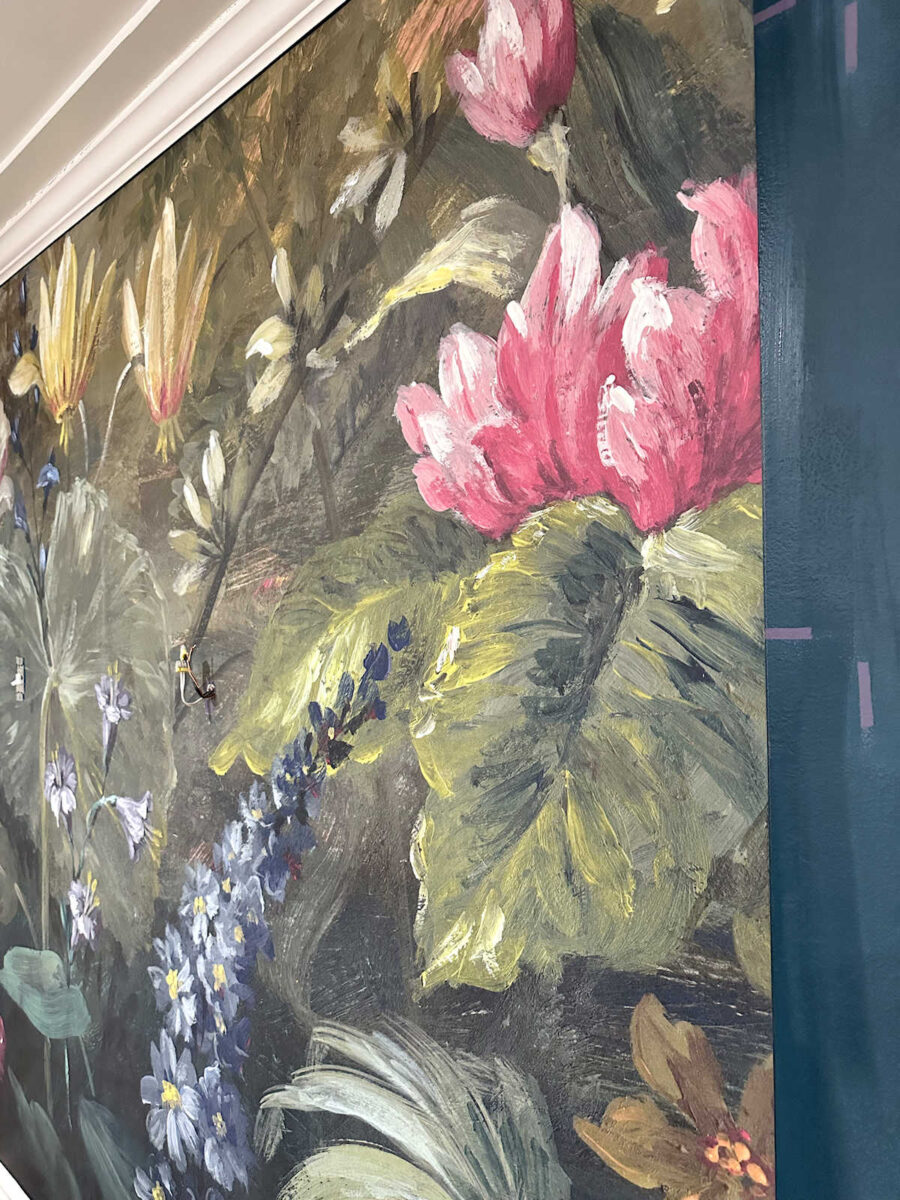
Every detail is so pretty. I can see myself spending time sitting in the living room and just staring at this mural.
I’ve never been the kind of person who had a problem covering up murals and wallpaper with furniture and artwork. To me, murals and wallpaper are just one layer of a design, and then I layer things on top. But I have to admit that I’m having a hard time with the idea of covering up any of this gorgeous mural.
So I’m not really sure what this wall will end up looking like. At this point, I’m pretty sure that I’ll still be using the console table that I built for the entryway, but I might want to paint it. And I’ve already cut the panel so that the wires for the sconce can come through, so I’ll be using the sconces. But other than that, I’m not sure.
I had envisioned hanging a mirror above the console table, but now I’m not so sure. This is a “make it up as I go along” kind of project. So later today, after I get the rest of the mural up and get the console table back in place, I’ll make those decisions. I really don’t want to cover up too much of the mural, though. So I may end up with something completely different for this wall that doesn’t include a console table. The only thing I know for sure at this point is that the sconces are staying. Everything else is negotiable.
More About Our Entryway

see all entryway
diy projects
read all entrwyay
blog posts

Addicted 2 Decorating is where I share my DIY and decorating journey as I remodel and decorate the 1948 fixer upper that my husband, Matt, and I bought in 2013. Matt has M.S. and is unable to do physical work, so I do the majority of the work on the house by myself. You can learn more about me here.